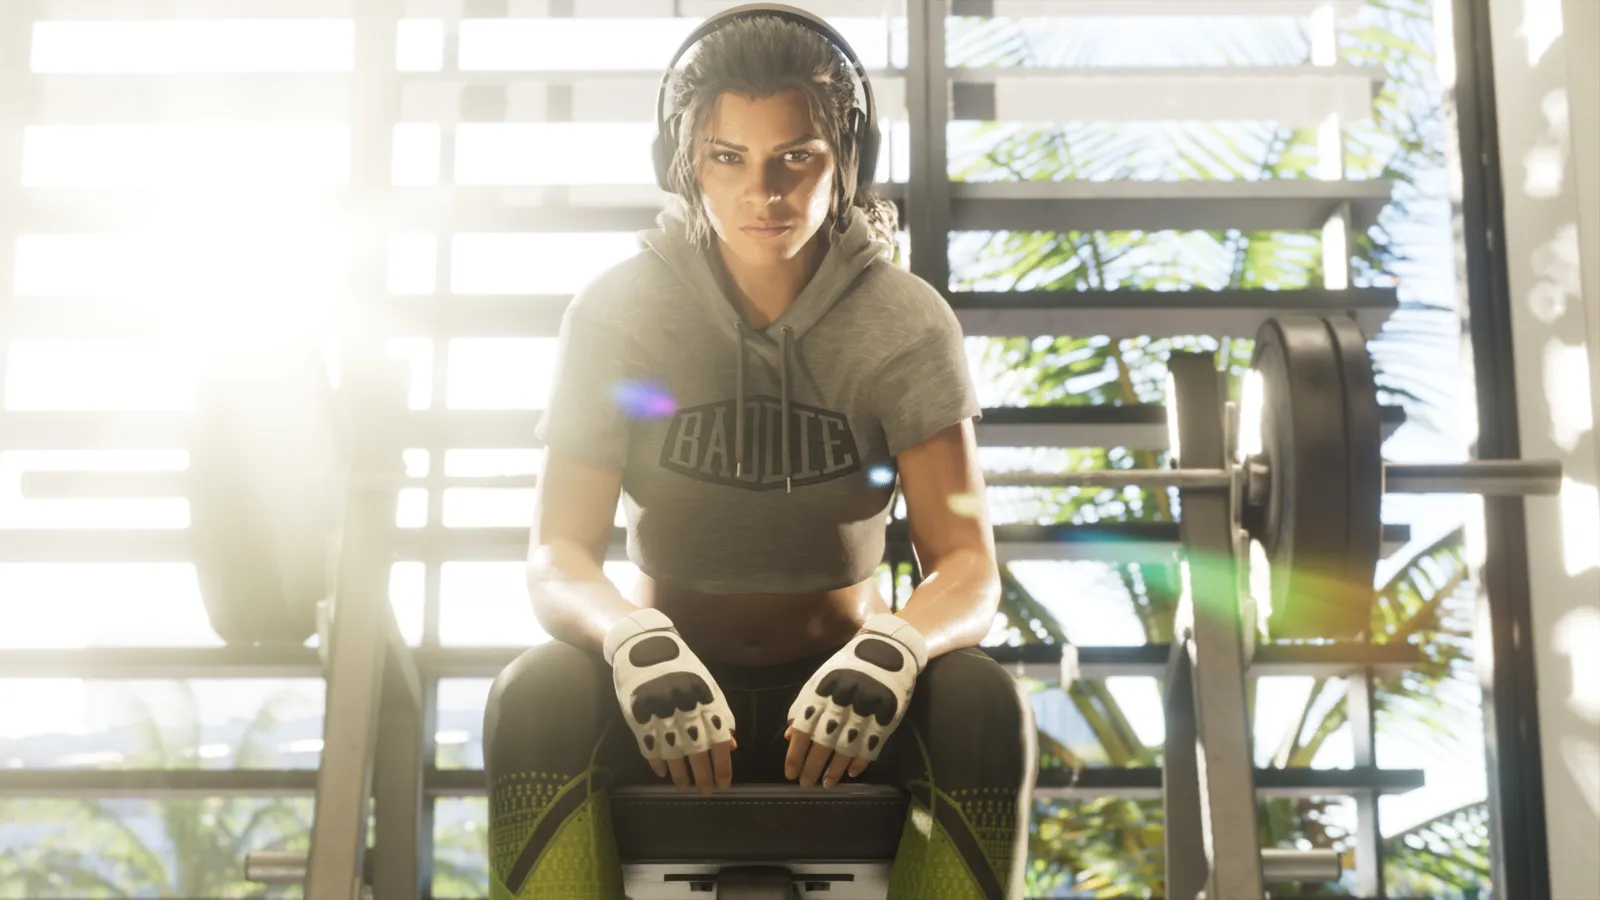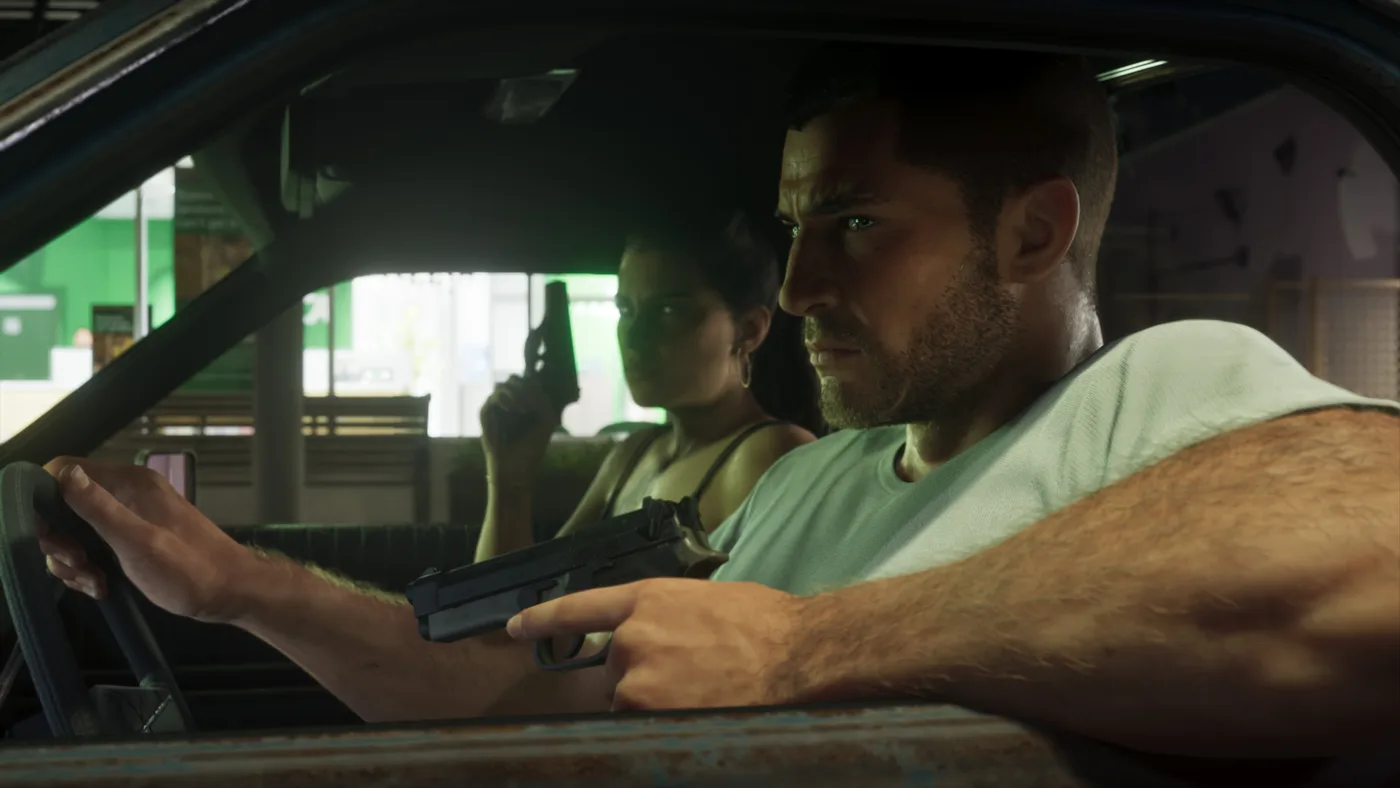
Prepare a clip, not just a button press
Before GTA 6 launches, prepare the complete route: record, review the file and retain a copy you can find. Test it in an unimportant session of another game before trying to preserve a scene you care about.
These instructions use console tools, not presumed Rockstar Editor or GTA VI photo-mode menus. Our photo-mode guide explains that distinction; here the goal is a usable video and a way to keep it.
1. PS5: save the recent moment or start recording
Press Create on DualSense. Start New Recording captures from that moment; reopen the menu and choose Stop Recording to finish. Save Recent Gameplay lets you retain from the last 15 seconds up to an hour. Sony warns that some scenes may be blocked and excluded from clips.
If the moment already happened, do not begin a new recording expecting to recover its beginning. For a planned take, decide where to start and stop before rehearsing.

2. PS5: review and trim before sending
In Media Gallery, open a capture and choose Edit. Sony lets you trim a video’s beginning and end, preview it before saving and choose a cover image. To share from the gallery, select the clip, Share, a destination or recipient, then Send.
Check the sound and the seconds surrounding the main moment. Choose a cover that does not spoil a surprise for someone still discovering the story.
3. Move the PS5 video to your phone
In a supported region, link PS5 to an updated PS App and leave internet-connected rest mode enabled for auto-upload. Enable Library > Captures. Sony supports non-4K videos under three minutes, available 14 days. Manual upload: Media Gallery > Options > Upload to PlayStation App. Download from Captures.
Open the download on your phone and check its beginning and end. A thumbnail does not verify the whole copy. For longer takes or editing elsewhere, prepare the USB alternative too.
4. Xbox: distinguish a recent clip from a new recording
On a compatible controller, the standard Share-button mapping saves a screenshot when pressed and a recent clip when held. A double press opens recent captures. Microsoft allows remapping through Xbox Accessories, so check your settings if the result differs.
To record from now, start a game and open Xbox > Capture & share > Start recording. To finish, open the guide and press X. Duration depends on resolution and storage; Microsoft says clips cannot be captured during Remote Play.
5. Xbox: send to your phone and watch network storage
Under Xbox > Capture & share > Recent captures, Mobile sends a notification to the app. You can also open My Library > Captures in Xbox App and select the file to share it. Review the selected audience before confirming a send.
To manage files, Microsoft gives Xbox > My games & apps > See all > Apps > Captures. Xbox-network copies may be deleted after 90 days: check Expiring soon and the displayed date. That notice concerns the network copy, not every backup you hold.
6. Keep a copy outside the temporary gallery
In Xbox App, choose a capture in My Library and Save for a phone copy. On the console, Captures > Manage offers Upload to OneDrive or Copy to external storage. Microsoft requires NTFS USB storage separate from the games drive; both operations retain originals. Some features vary by region.
On PS5, open Media Gallery, select the capture and More > Copy to USB Drive with the device connected. Sony supports sorting, filtering and viewing captures grouped by game; use those controls to locate the file before copying.
Before publishing: file, audience and spoilers
Is the copy ready? Play it where you intend to keep it. Is it ready to share? Review the cover, visible names or messages and agree with companions on what to show. A personal recording and public post may need different cuts.
To broadcast a playthrough, consult the music and streaming-rights guide separately. Saving a file and deciding how to publish it are different tasks.